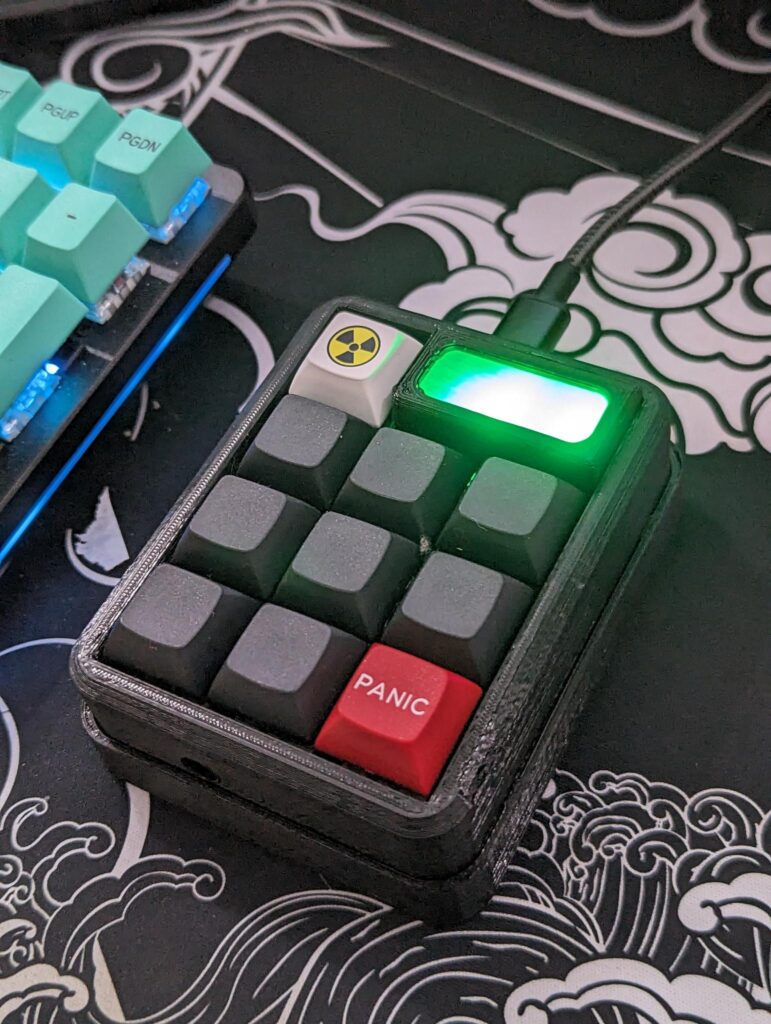
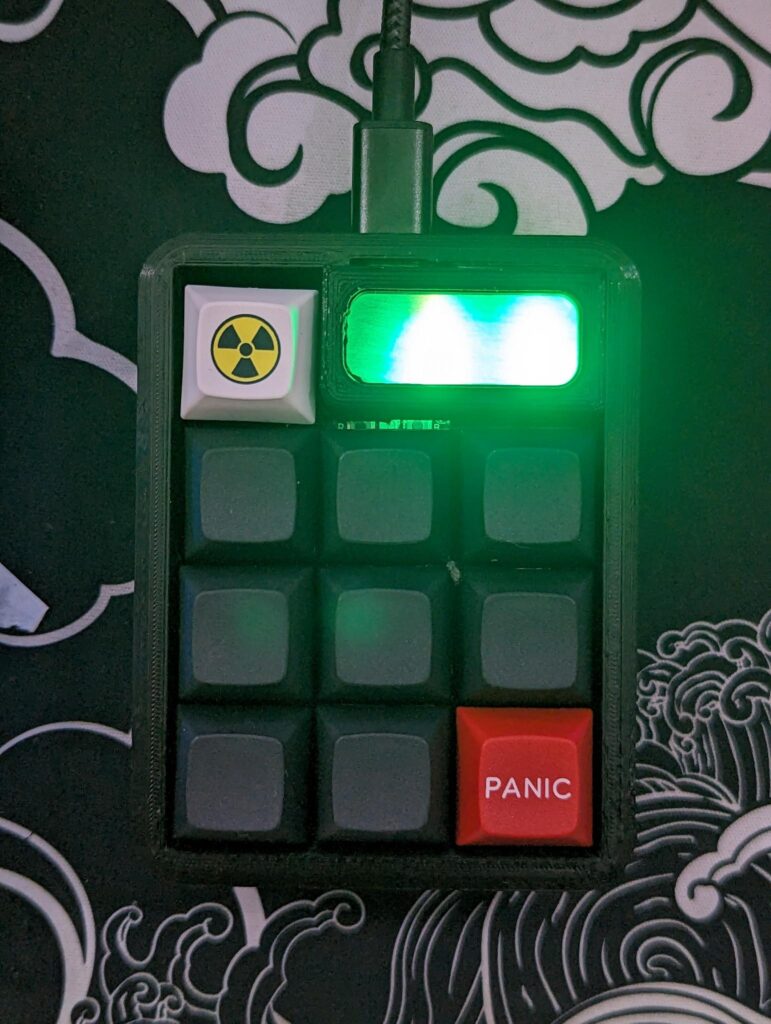
Most DIY macropads I could find on the internet were either too expensive or had too many features for my needs (knobs, displays, etc).
My goals were as follows:
- Easy to Program
- Cheap to make
- Beginner-friendly soldering and 3D printing
- No larger than a numpad
Processor
I chose the Seeed XIAO RP2040 for its size, IO, and price. A single board is available for less than $10 in the US, and has exactly the number of GPIO pins needed for this project. The XIAO is also able to be soldered with castellated holes for a low profile.
Keyswitches
I designed this to be compatible with Cherry MX 3 and 5 pin models. These are easily accessible in packs of 10 or more.
Circuit Board
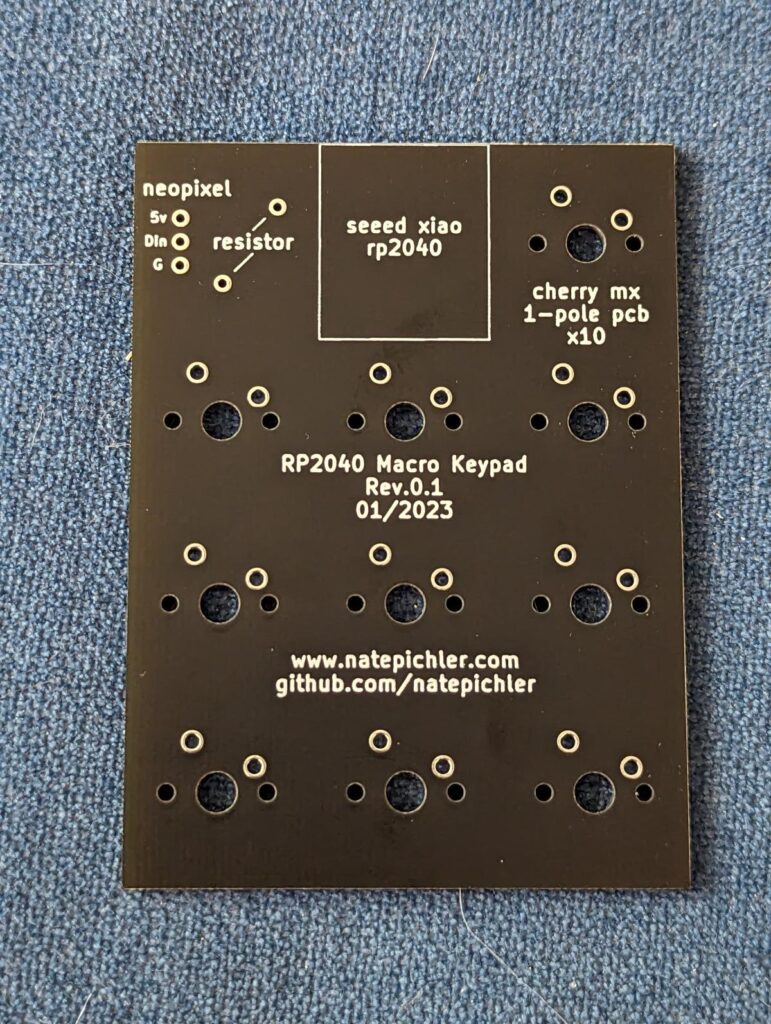
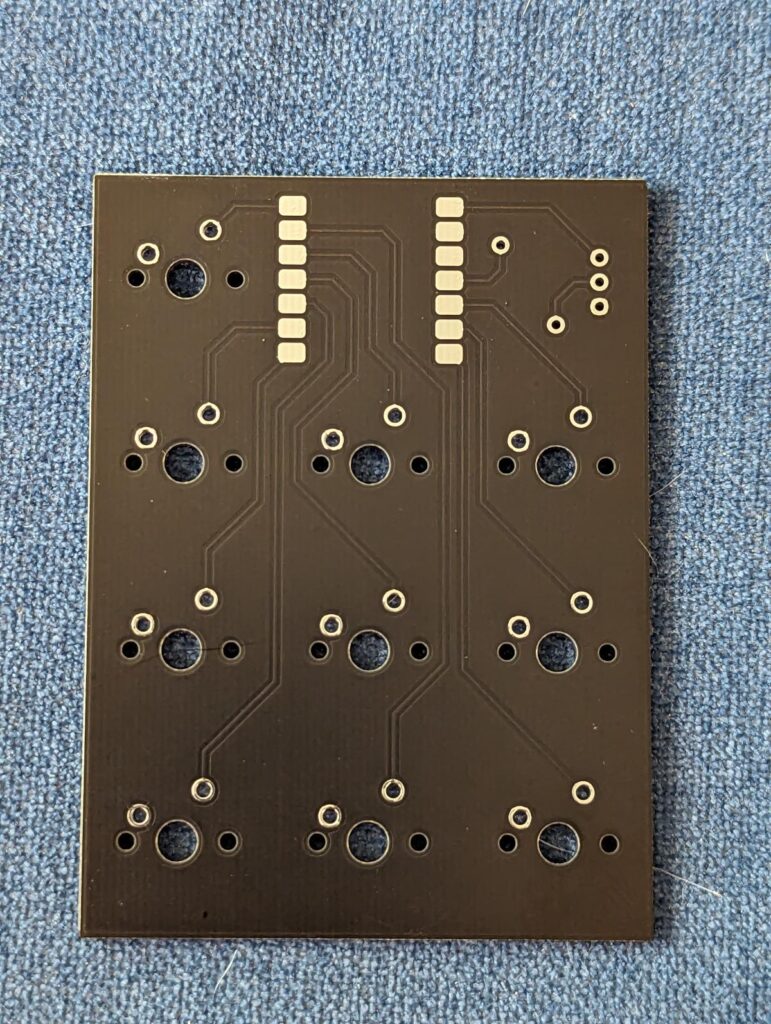
I designed the circuit board with KiCAD and had them manufactured through OSHPark and JLCPCB. It is a dual layer (front and back) standard PCB. You can download the files HERE and have them manufactured through a service of your choice.
Code
The code is written in Circuit Python using Adafruit’s HID library. Basically, any computer this is plugged in to will see it as a keyboard. It can be programmed to send any keystroke or combination of keystrokes to achieve what you want. The code is available for download HERE on Github.
Components
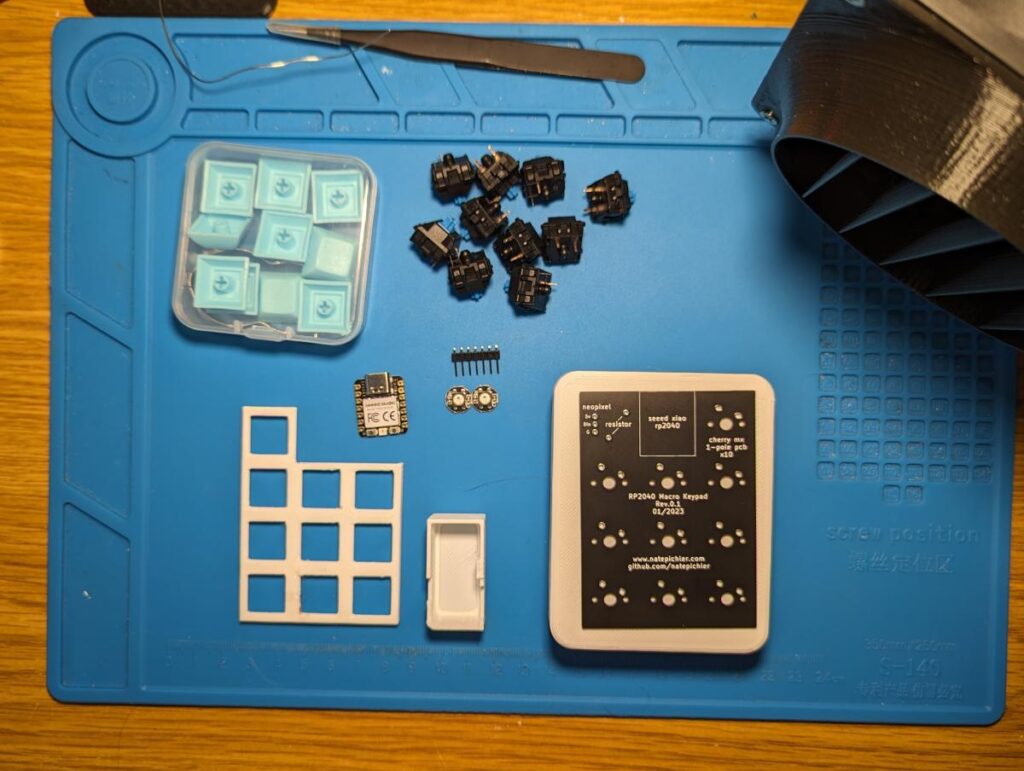
Materials:
- 1 x Circuit Board
- 1 x Seeed XIAO RP2040
- 10 x Keyswitches (Cherry MX) and Keycaps
- 2 x Addressable LEDs (WS2812B)
- 1 x 220 Ohm Resistor
- 3D Printed Case
- Body
- Switch Plate
- LED Housing
- 2 screws
- Lid (optional)
Download 3D printing files HERE on Thingiverse.
Assembly
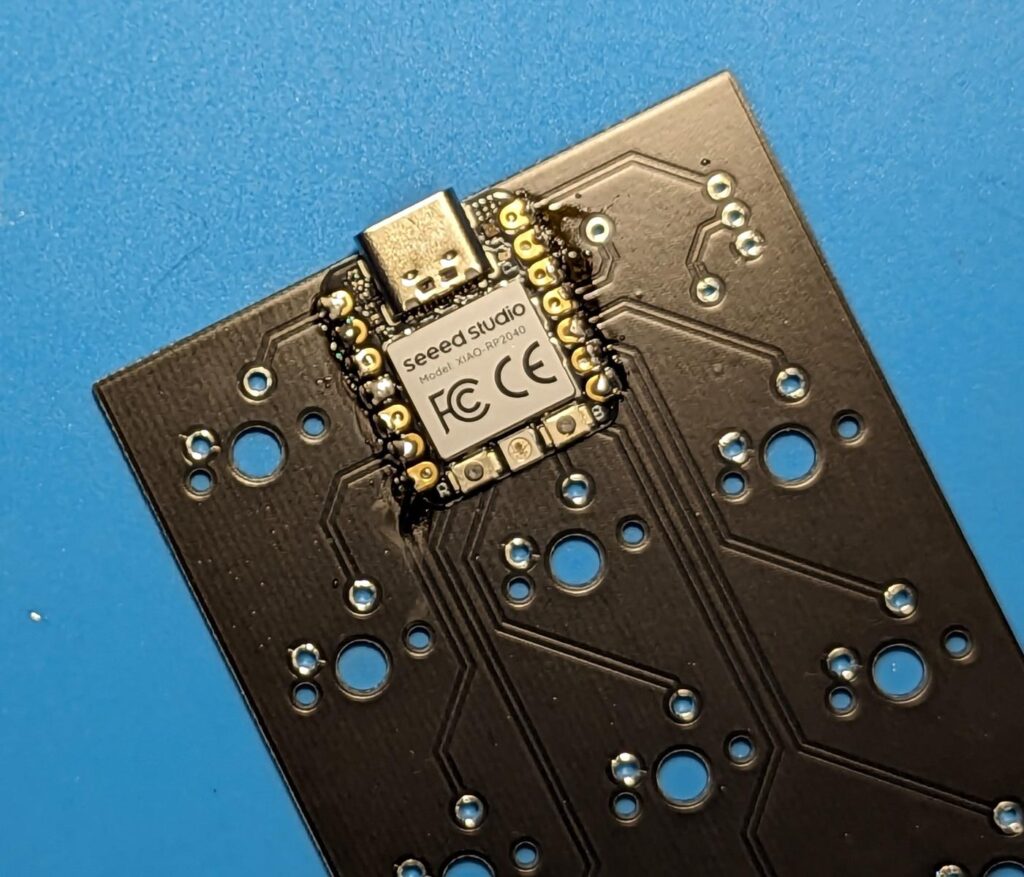
Step 1: Solder the Seeed XIAO RP2040 to the circuit board.
Start by tinning one of the corner pads on the board. Melt the solder with your iron and slide the RP2040 into place. Solder the opposite corner next, then continue around the chip. Make sure to skip around and give it some time to cool so you don’t fry anything.
Step 2: Solder the Keyswitches
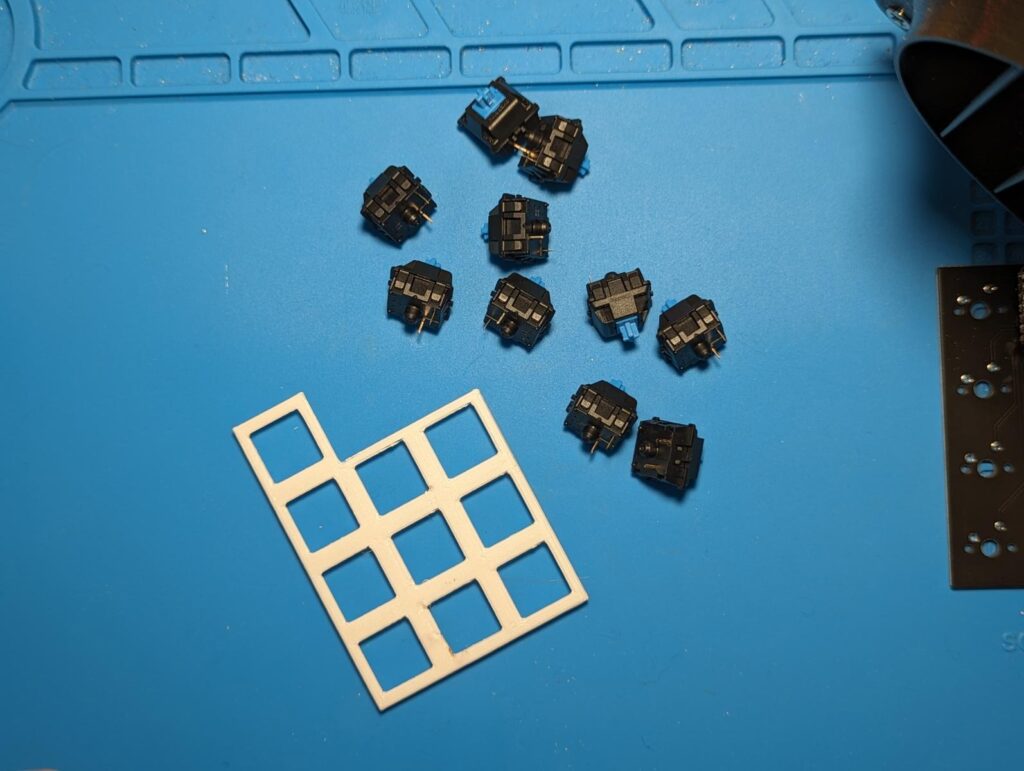
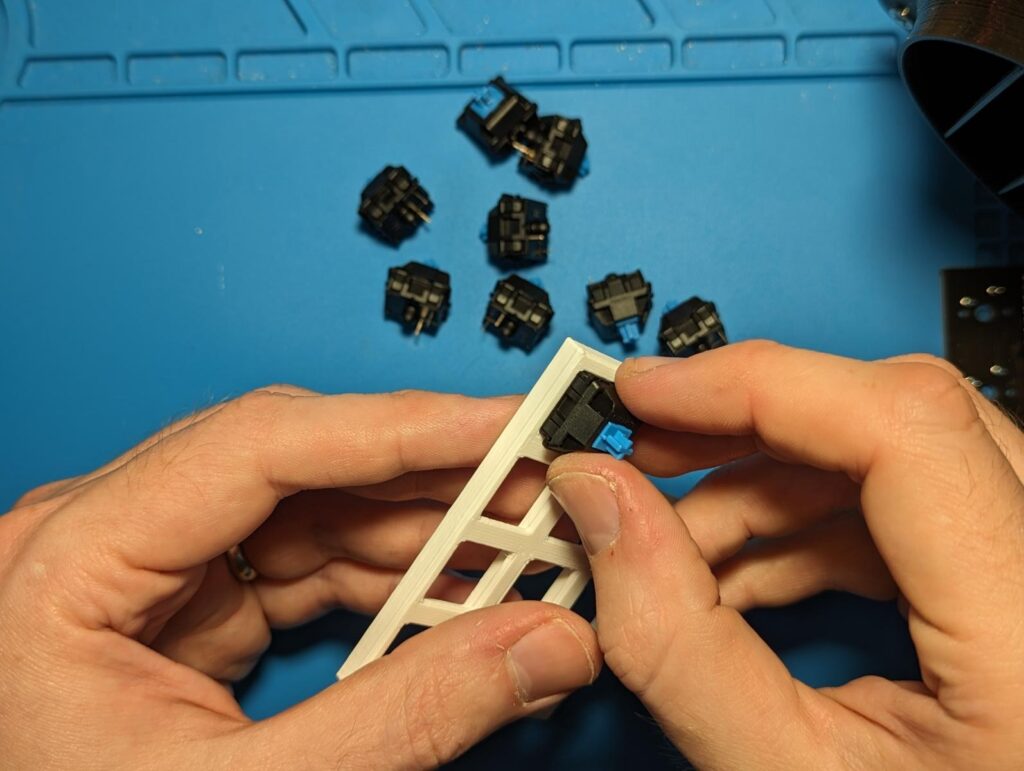
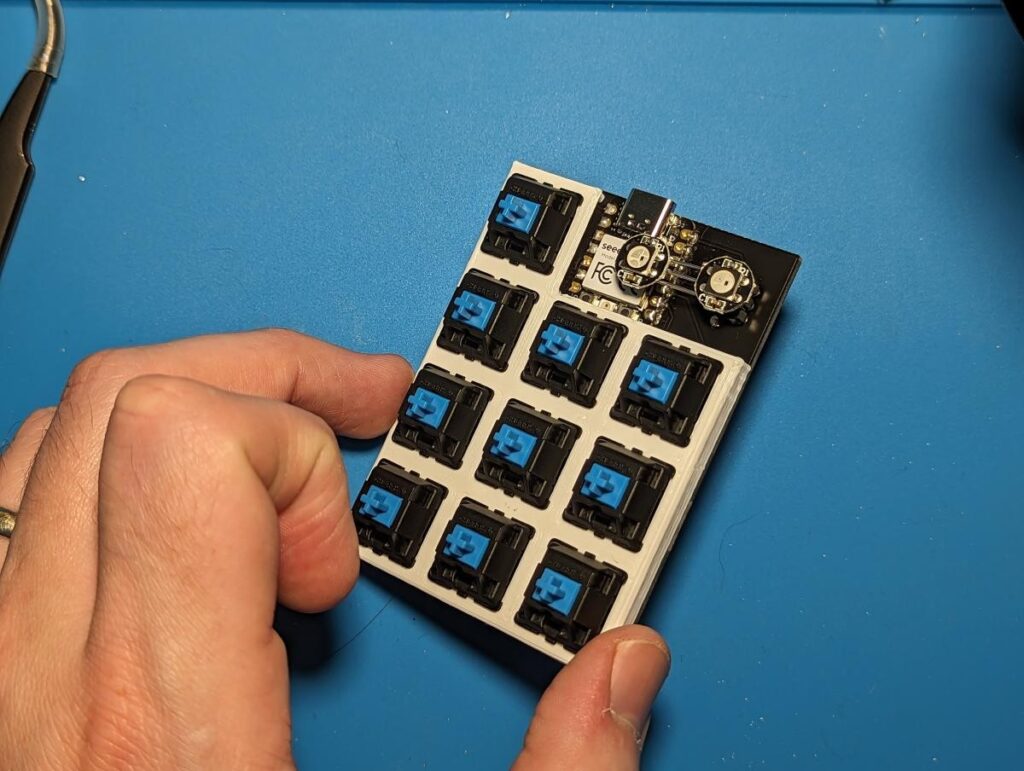
If you are using the 3D printed case, insert the key switches into the switch plate. When all the switches are fully inserted, place the assembly on the front of the circuit board so that all the pins go through their respective holes. Solder the switches from the back.
If you are not using the 3D printed case, just solder the switches as normal.
NOTE: Be very careful not to overheat the switches. Put the soldering iron on for the minimum amount of time possible and jump around from pin to pin.
At this time, solder the 220 Ohm resistor between the labeled holes on the back of the board.
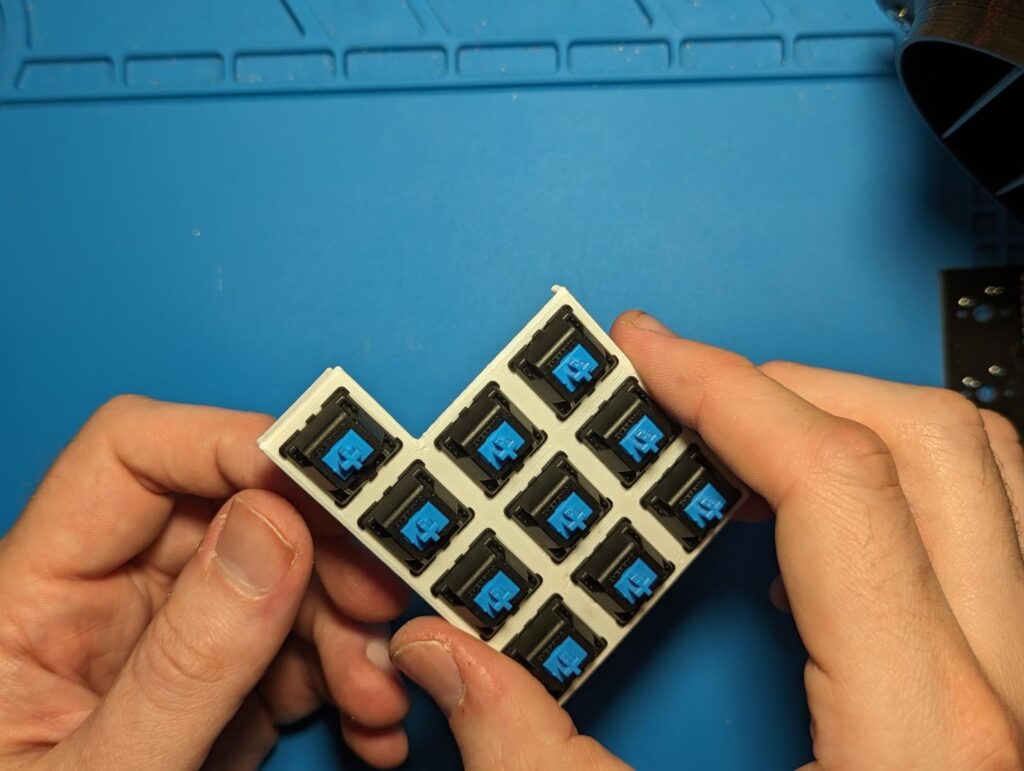
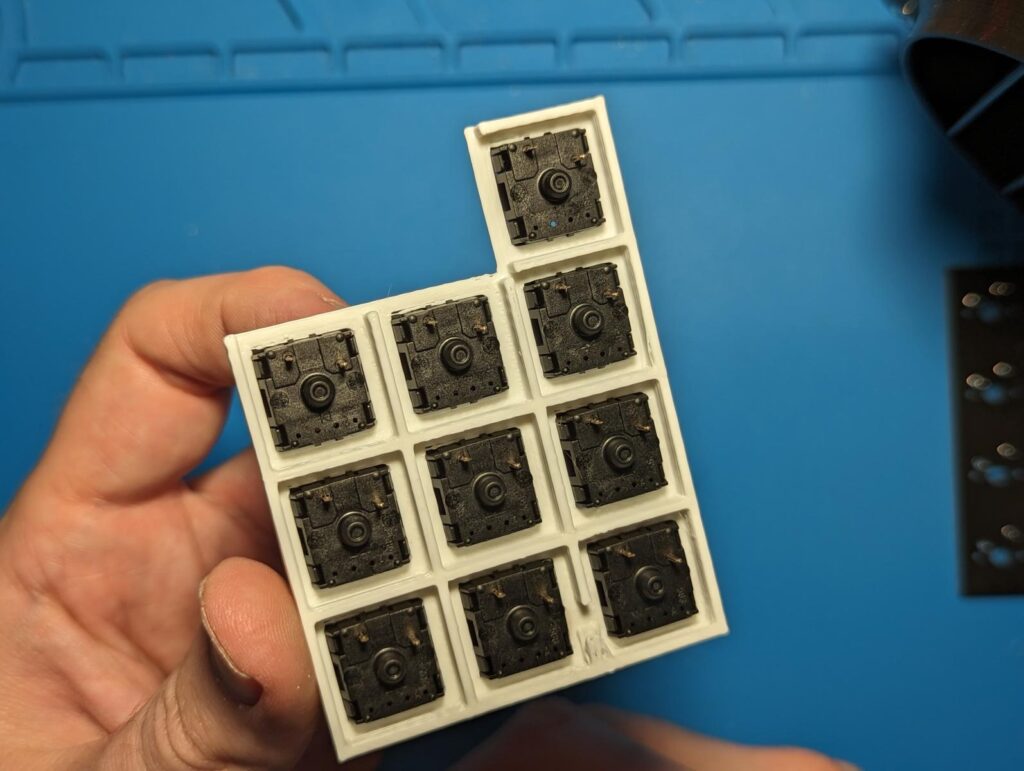
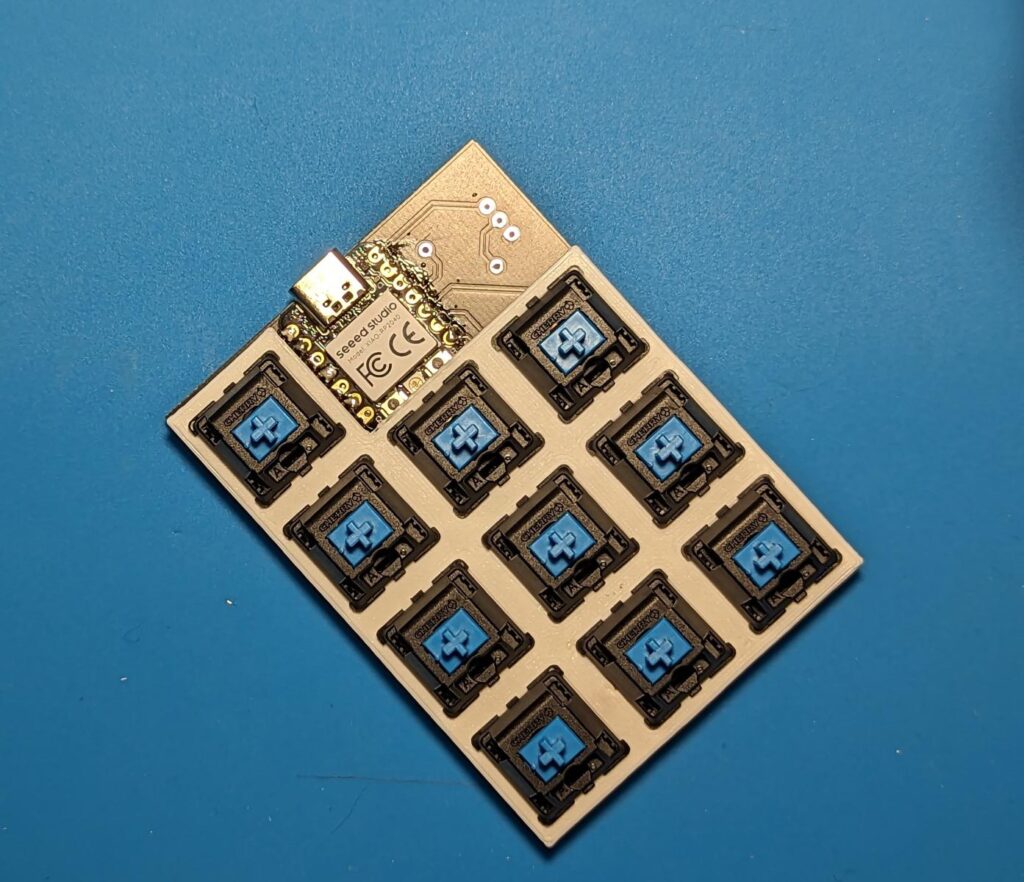
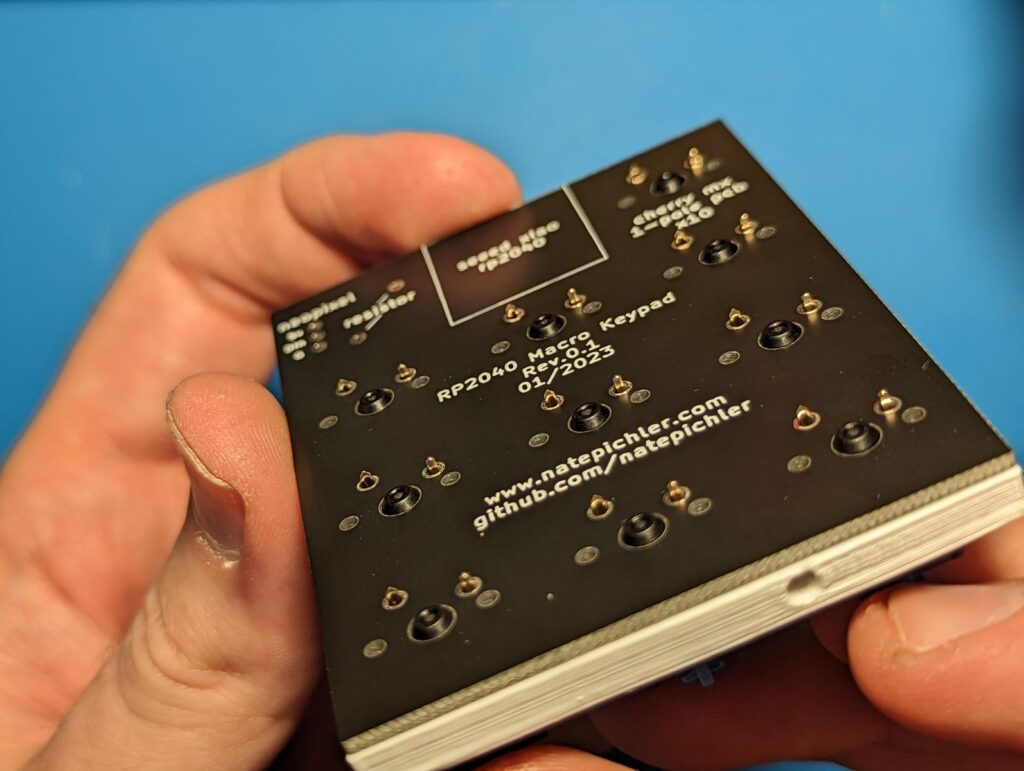
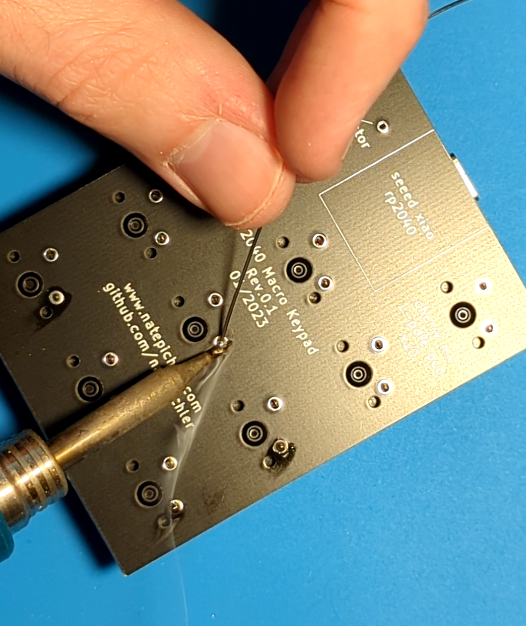
Step 3: Solder the LED assembly
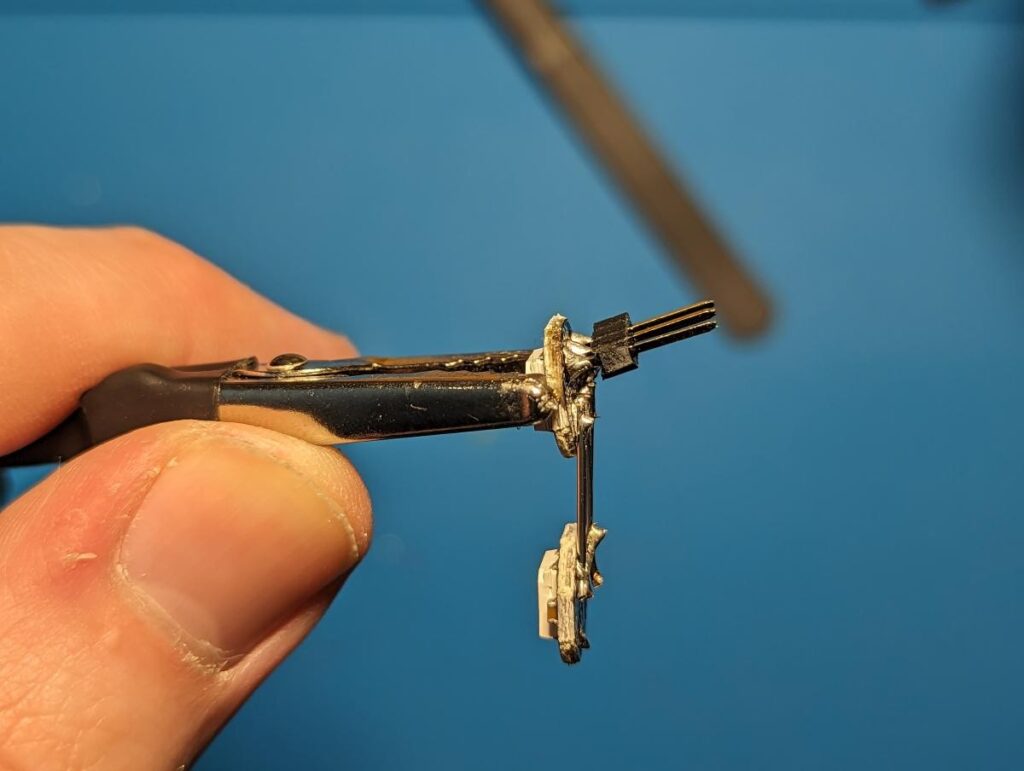
2 of the addressable LEDs are needed for this build. They should be soldered as shown below. Solder a 3 pin header to the input side of the first LED. Solder that to the 3 labeled holes on the board.
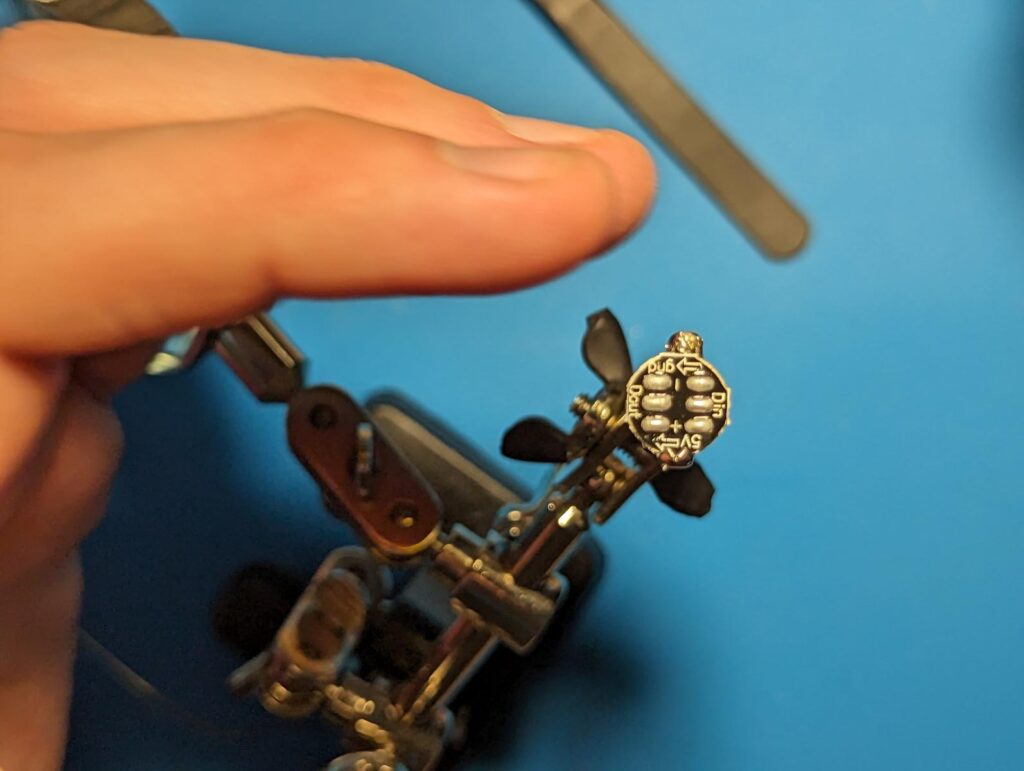
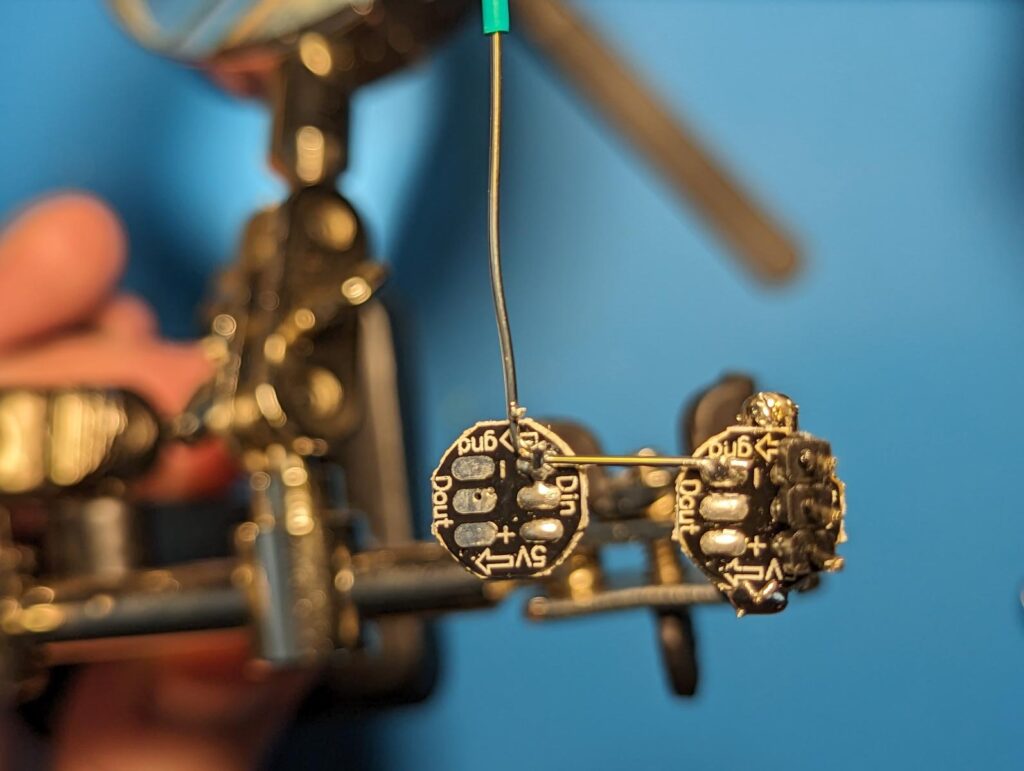
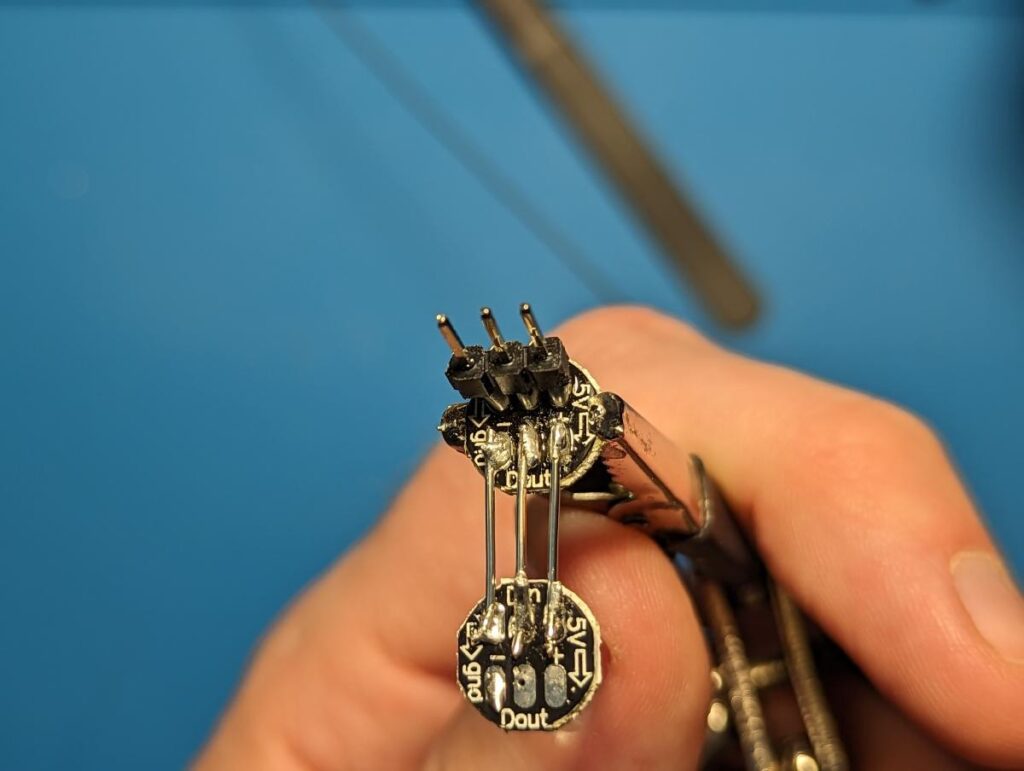
Step 4: Create the LED Diffuser
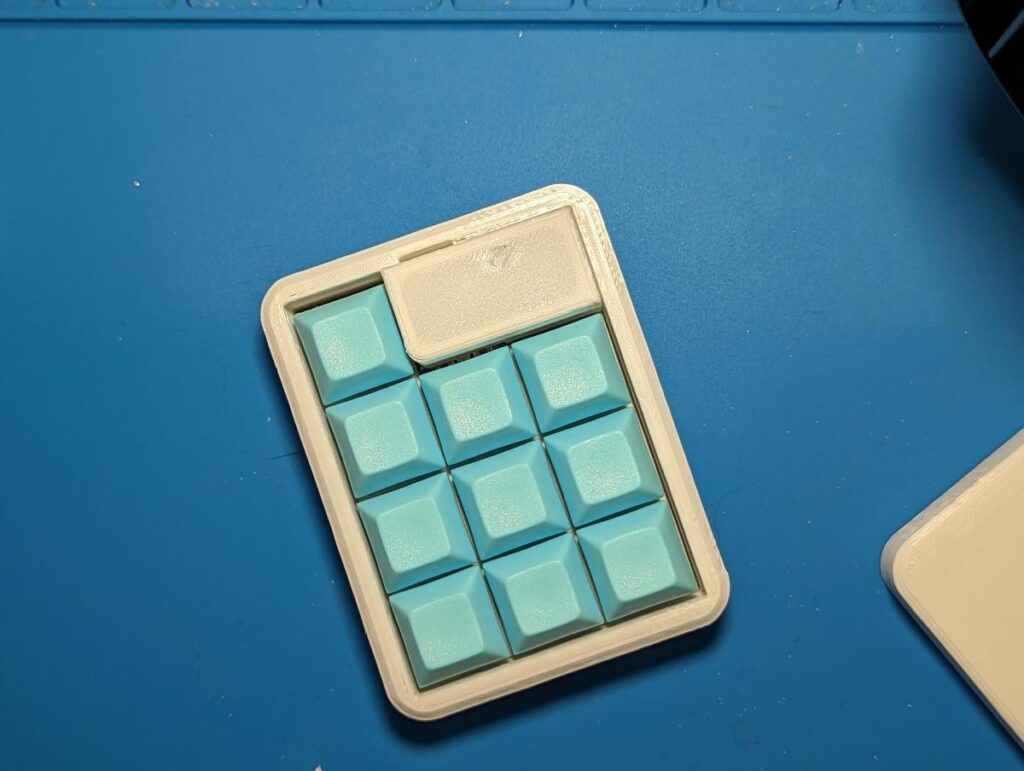
If you are printing in a light color (e.g. white, yellow, etc.) you can print the “led housing v2 with diffuser.stl”. this has a single printed layer at the top that light can shine through.
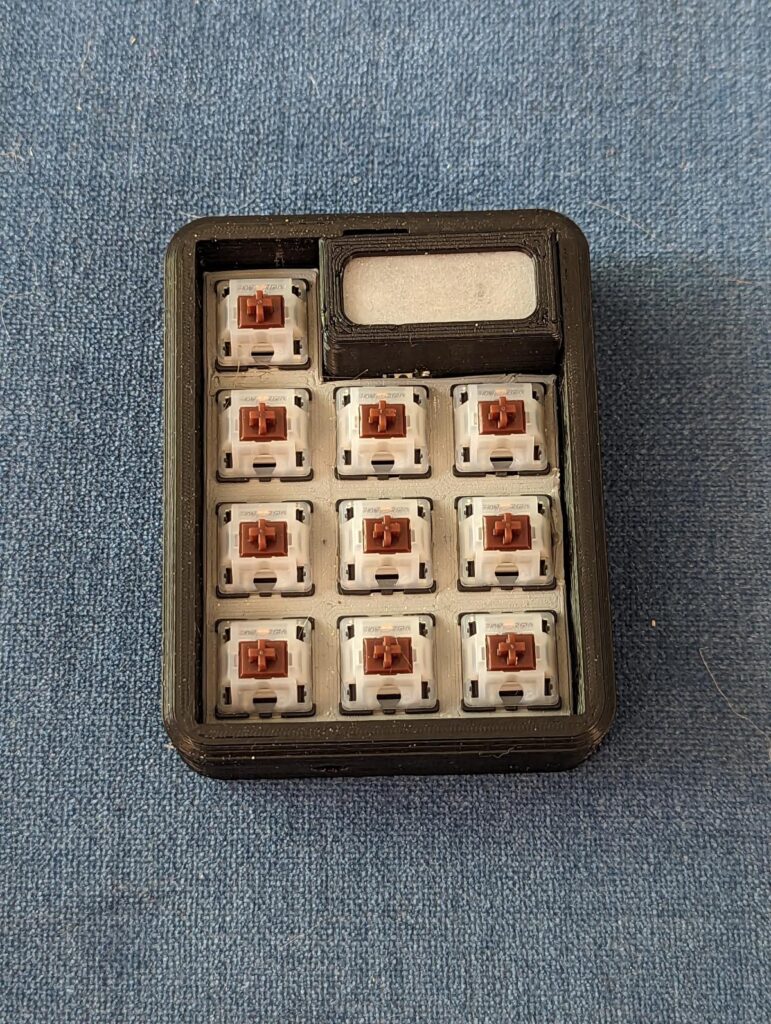
If you are printing with a darker color (e.g. black, grey, red, etc) you should print the “led housing v2.stl”. This requires a diffuser that you can make with some scrap plastic. I used a cutout from a clear plastic package that I dug out of my trash.
Cut the plastic so it fits on the inside of the LED housing. Rough up the surface with fine sandpaper (320 or higher) to “frost” the plastic and create the diffusing effect. Either super glue or hot glue the diffuser in place from the inside.
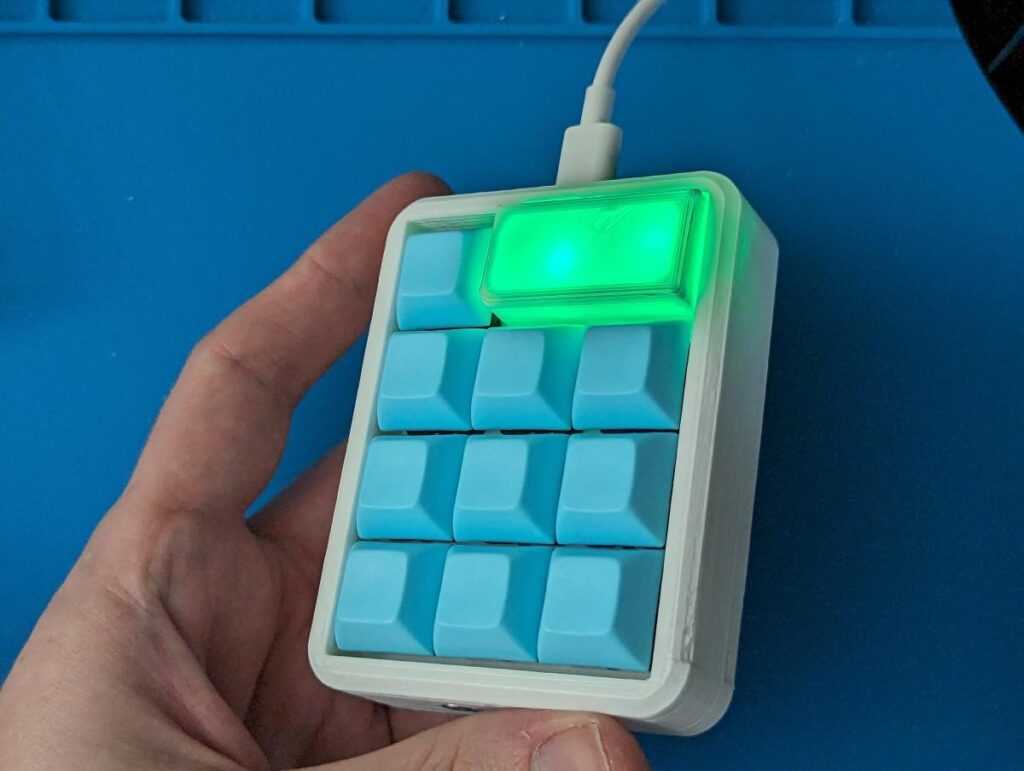
Step 5: Assembly
Place the circuit board assembly into the case. Insert one screw into the bottom to secure it.
Next, place the diffuser in place and add the other screw from the top. Add keycaps of your choice.
How to Use
By default, there are 3 layer files on the device. In these files, there is an area for writing code for each of the 9 buttons. For the button grid order, top-left is button 1 and bottom-right is button 9. For example:
def layer1button3():The code for button 3 (top-right) on layer 1 (green) goes below this line.
To change layer, use the far top left button, next to the lights. By default:
- Layer 1: Green
- Layer 2: Cyan
- Layer 3: Violet
While the code is running, one of the lights will change to orange. When this light changes back to the layer color, the macro has completed.
When plugged in, there will be a double flashing white light to indicate a successful startup.
If a red light is shown, there is an error with the code. Go back to the most recent change and look for a formatting error (make sure to follow the examples) or use a tool like Thonny to get error messages.
Colors and behavior can be changed by editing ‘main.py’. An infinite number of layers can be added however (only limited by storage space). To do this, un-comment lines 22 and 35 in main.py. Then, copy and paste lines 184 – 246 in main.py and change values accordingly (replace layer_3 with layer_4, etc.). Make sure to have layer 3 point to layer 4 (line 245), and then make layer 4 point to layer 1.
Finally, make a copy of the file ‘layer_3.py’ and rename to ‘layer_4.py’, and change the values within accordingly.
This can be done any number of times to add more layers.
Programming
Included in the code files is EXAMPLES.txt, which includes examples (duh) of different tasks that can be programmed.
There are 3 basic commands that can be combined to perform a task. These are:
- time.sleep()
- layout.write(‘ ‘)
- keyboard.send()
time.sleep
The simplest command, same as ‘wait’. Time is in SECONDS. If you wanted to wait 100ms, you would write:
time.sleep(0.1)layout.write
This command types a string of characters. For example, if you want a button to type your email, you would write:
layout.write('example@example.com')keyboard.send
This command executes a keycode or combination of keycodes on a keyboard. the file KEYCODES.TXT lists all the possible keycodes.
For example, if you wanted a button to copy text in your browser, open a new tab, and search for that text, you would write:
keyboard.send(Keycode.CONTROL,Keycode.C) #Copy selected text
time.sleep(0.1) #wait 100ms
keyboard.send(Keycode.CONTROL,Keycode.T) #Shortcut for new tab
time.sleep(0.1) #wait 100ms
keyboard.send(Keycode.CONTROL,Keycode.V) #Paste text
time.sleep(0.1) #wait 100ms
keyboard.send(Keycode.RETURN) #Enter
If you wanted to press a shortcut CTRL+SHIFT+P, you would write:
keyboard.send(Keycode.CONTROL,Keycode.SHIFT,Keycode.P)These commands can be combined to do just about anything.